Configuration
General
Please see the General configuration documentation on the Walker generator page as these are shared between generators.
Noise - General
This section contains the general configuration of the generator.
Level Size
Size of the level to be generated. This is before any post-processing is applied. For example, the Border post-processing will increase the size beyond what is configured here.
Center Grid
Whether to move the level so that the center is positioned at (0,0). This is usually not needed during runtime but can be handy during development.
Noise - Configuration
This section is all about configuring noise sources that are used in the next section to map and combine noise values to tiles and biomes. By default, a single noise item called Terrain is provided to you to get you started, but feel free to remove or modify it if you do not need it.
Each noise config has a Show noise button that you can use to show an overlay of the noise values. Use that to quickly get a feel for different configurations of the noise.
Name
Name of the noise that is shown whenever you need to specify a noise to use.
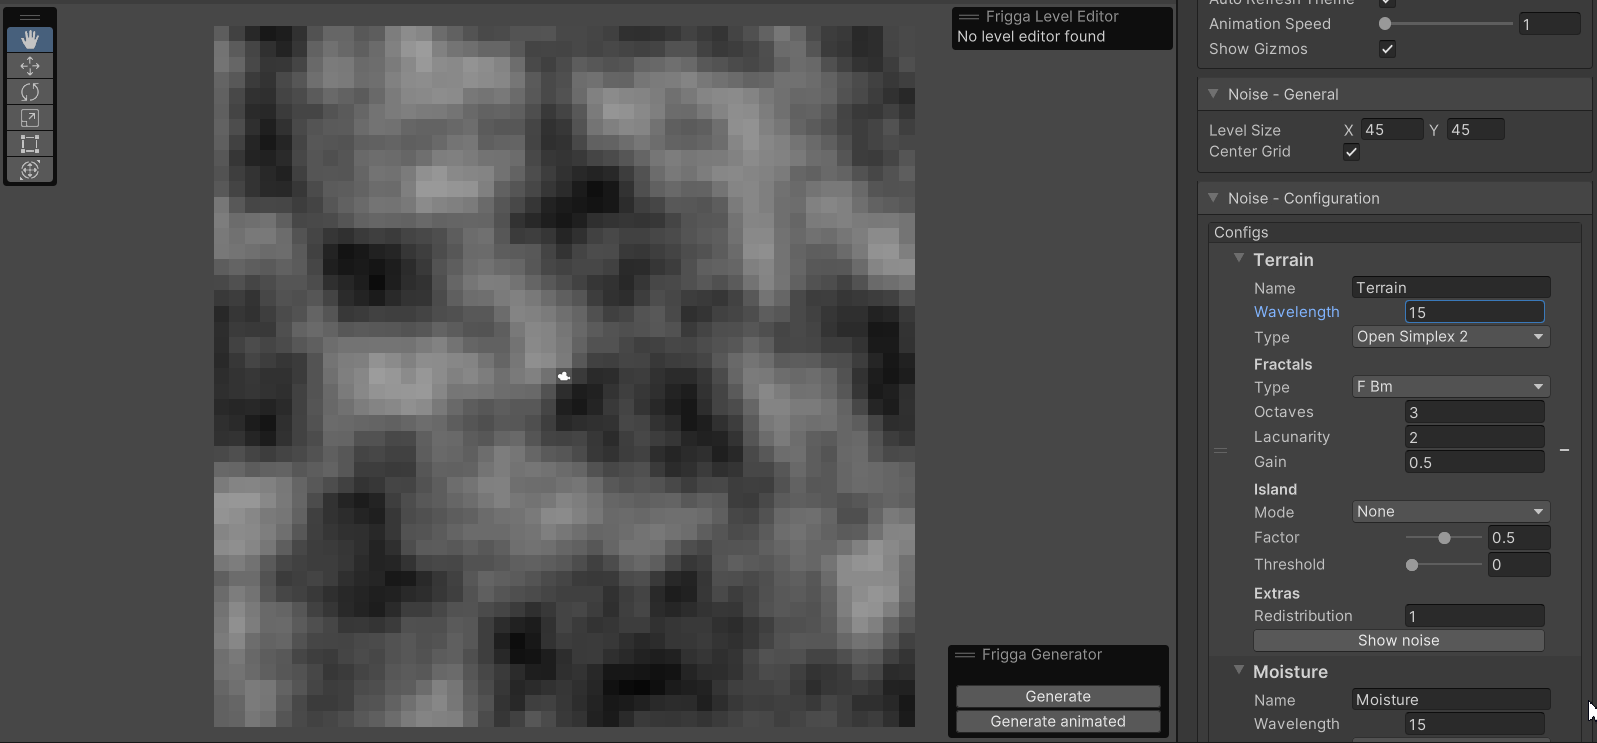
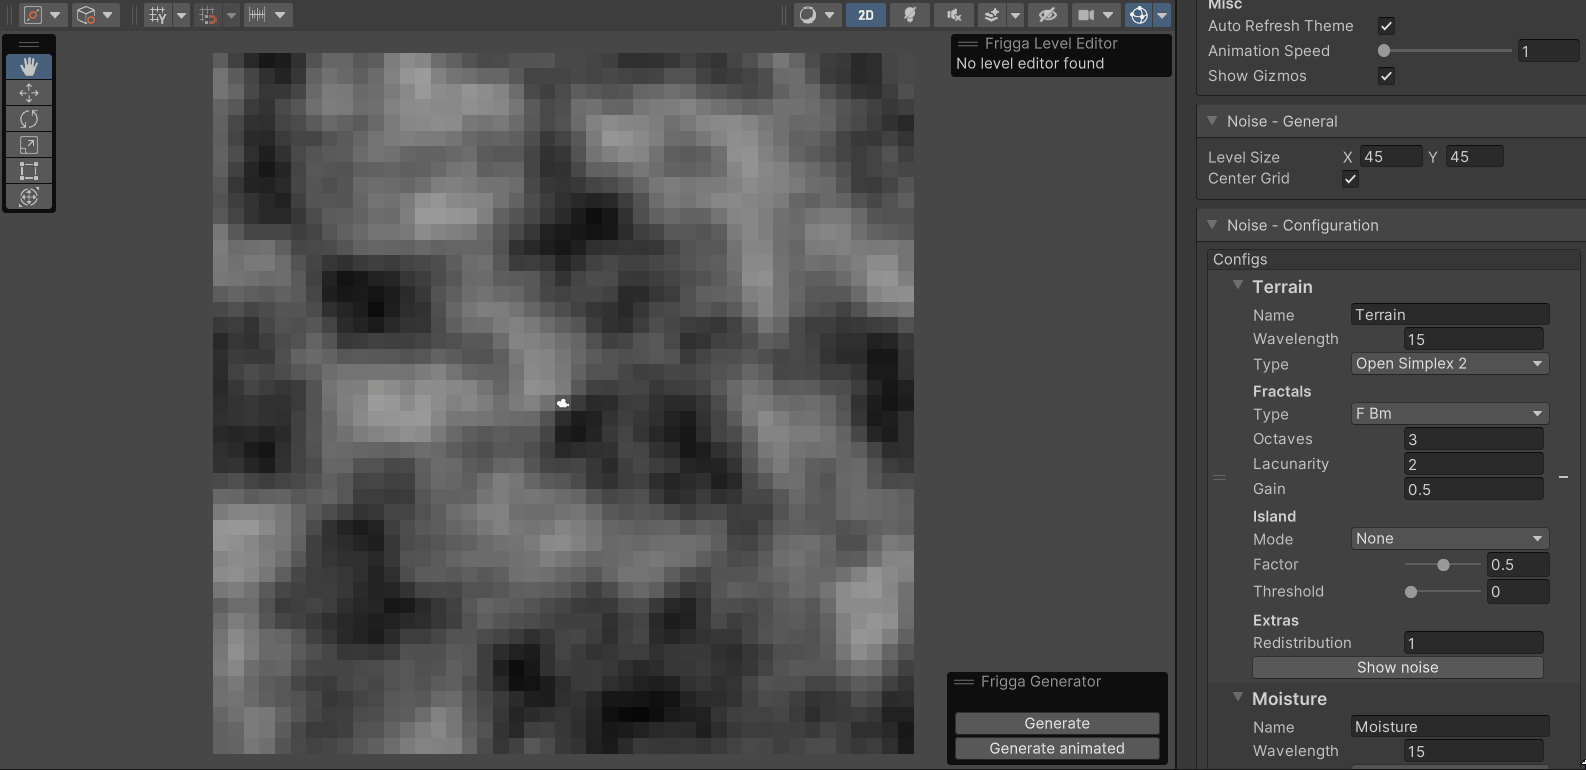
Wavelength
Controls how quickly the noise changes. With low Wavelength, the noise will change very rapidly from dark values to light values. With a higher Wavelength, the change will be much more gradual. This should be the first property that you play with whenever you create a new noise or if something feels weird with an existing noise.
Type
Controls which noise type will be used.
Fractals
This section configures how the noise is transformed with fractals.
Type
The type of fractal to be used:
None- no fractal will be usedFBm- fractal brownian motionRidged- ridged
Octaves
The amount of noise layers used to create the fractal, range [1, inf). You are encouraged to experiment with different values to see how the output changes.
Lacunarity
The frequency multiplier between each octave. You are encouraged to experiment with different values to see how the output changes.
Gain
The relative strength of noise from each layer when compared to the last. You are encouraged to experiment with different values to see how the output changes.
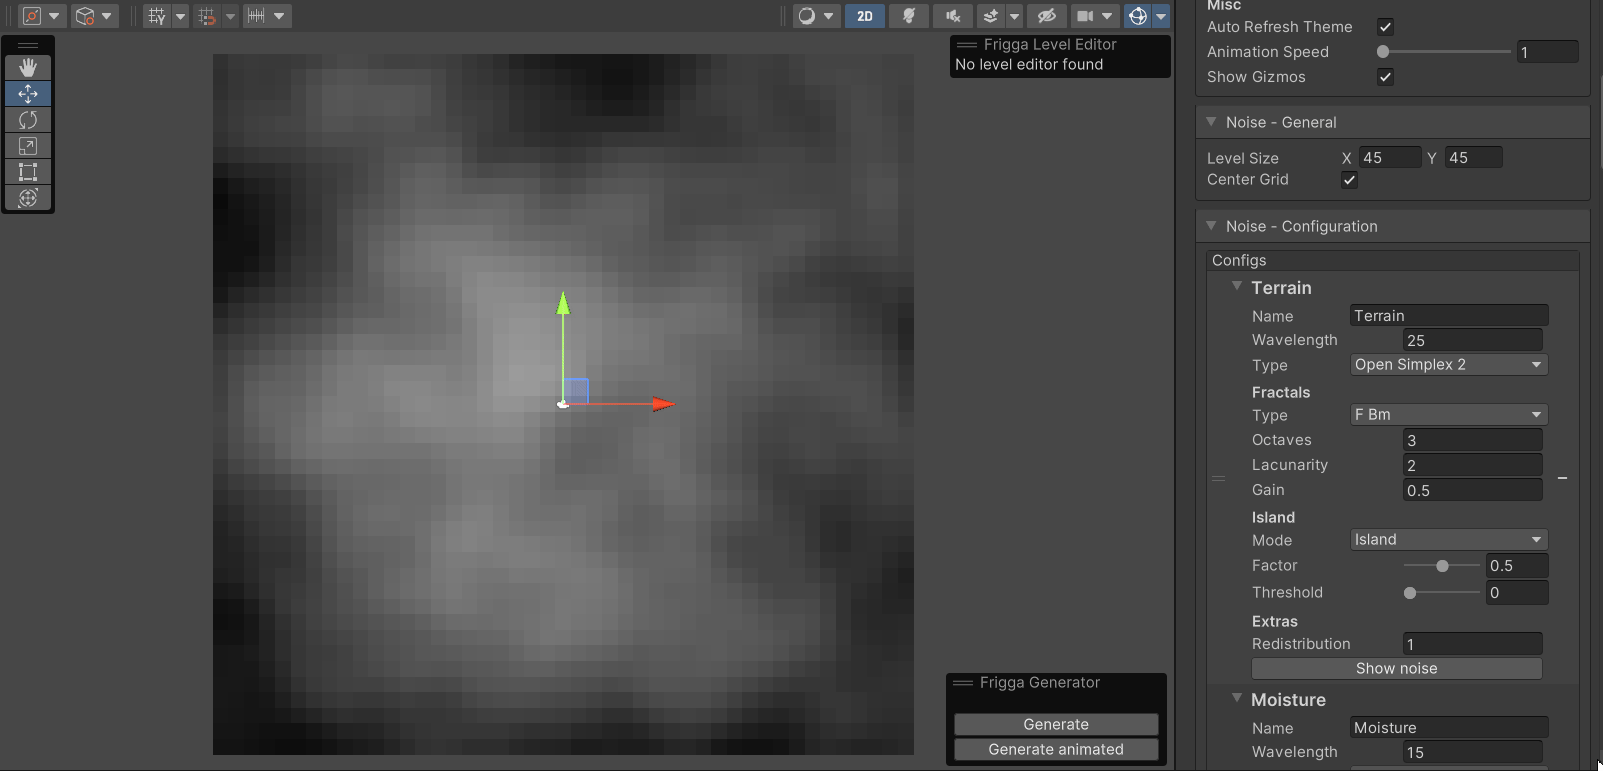
Island
This section controls whether/how the noise is transformed into an island.
Mode
Controls whether or not to use the island transformation:
None- the island transformation is disabledIsland- classic island, borders are pushed lower while the center is pushed higherReverseIsland- reverse island, borders are higher while the center is pushed lower

Factor
Controls how pronounced the island transformation is. The value of 0.5 is usually a good one to start with.
Threshold
The side effect of the island mode is that while the border values get lower, the central values get higher. That means if you want to generate an island, you will almost never see a lake being generated inside the island. If that is not what you are looking for, you can play with the Threshold value. Value 0 means the island transformation applies to the whole level, 0.5 means that the transformation affects the level only 50% away from the center, and the closer you get to 1, the less pronounced the island effect will be.
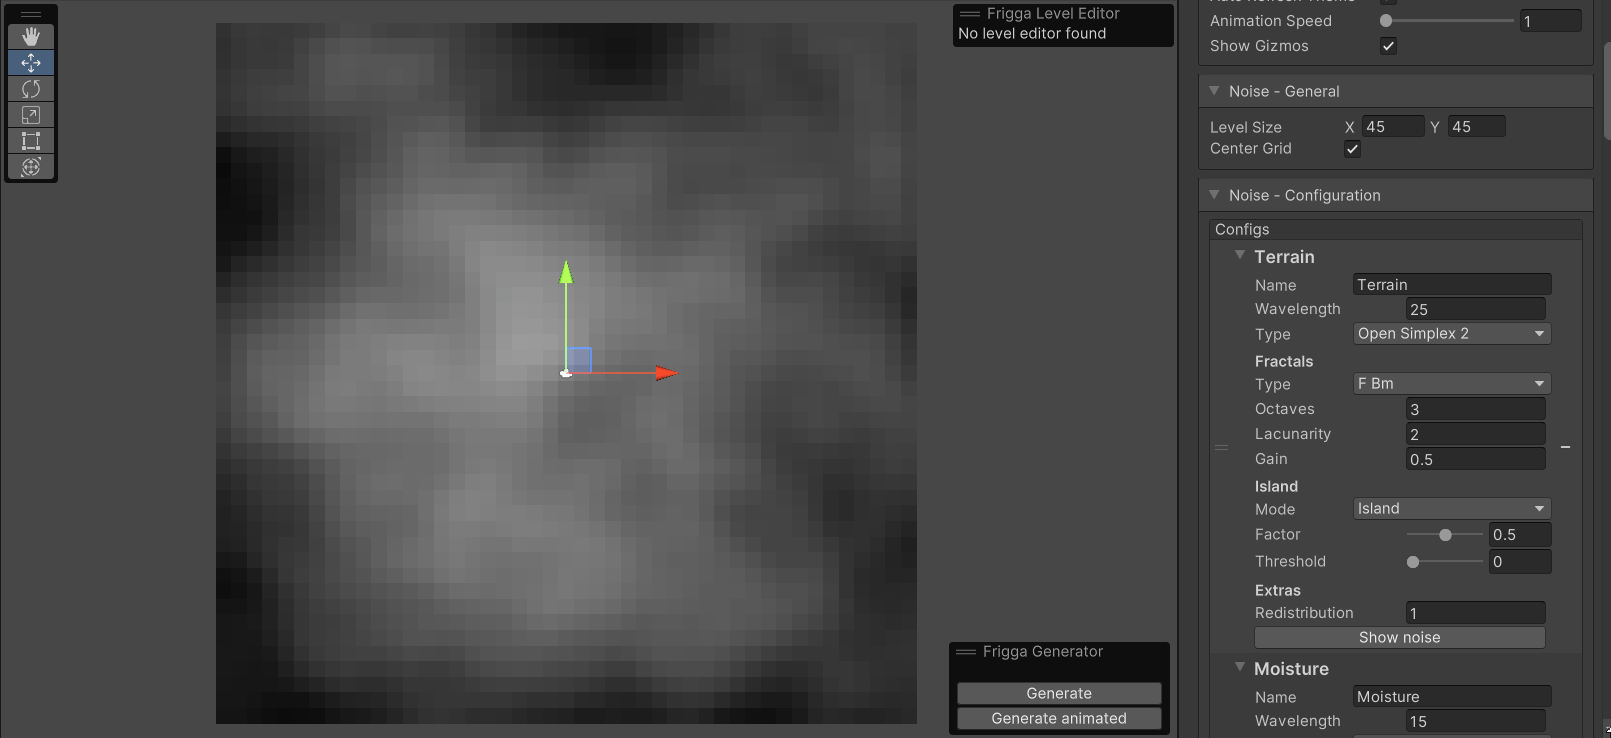
Extras
Redistribution
Higher values push middle elevations down into valleys and lower values pull middle elevations up towards mountain peaks.
Noise - Mapping
This section is all about mapping noise values to tiles and biomes. We define a list of mapping rules which are evaluated for each cell in the level. The first rule that has all its conditions satisfied is used, and the evaluation stops there and another cell is evaluated.
In the image below, you can see an example of how the mappings can look.
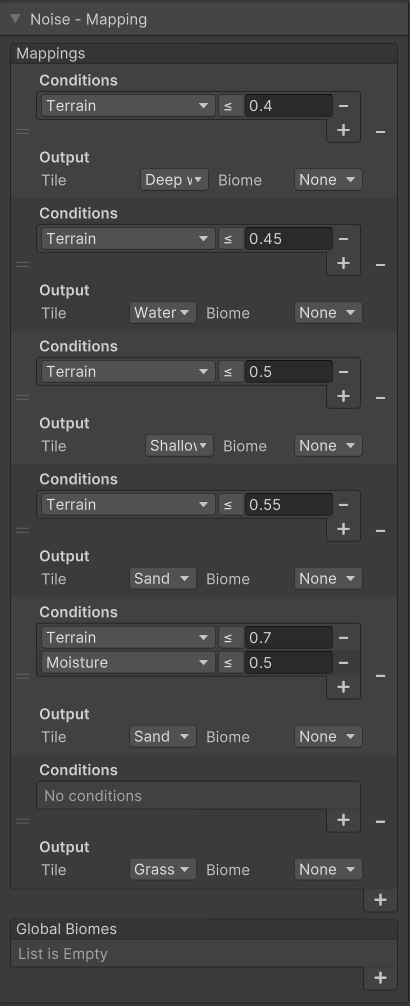
Each item in the list has 2 sections:
- Conditions - specifies the conditions that need to be met for the mapping rule to apply
- If there are 2 or more conditions, all of them need to be satisfied
- If there is no condition, the mapping is applied whenever it is evaluated
- Output - specifies what should happen when the mapping is applied
- Controls which Tile and/or Biome to apply when the mapping is applied
- At least one of the Tile and Biome fields needs to be filled
If there is something wrong with a mapping, the background will turn red and you need to fix it.
In the same section of the configuration, there is also the Global Biomes field that you can use to specify biomes that should be set for the whole level.
Post-processing
The sections below configure the post-processing of the generator. The individual post-processing steps run in the order that they are defined here or in the inspector.
Post-processing - Border
Adds a border of a specified number of tiles around the whole level. This feature is great for making sure that the reachable area of the level is not too close to the border of the level. For example, to make sure that every floor tile is at least N tiles away from the border.
Size
Size of the border to be added.
Tile
The tile to be used for the border.
Biome
The biome to be used for the border.
Post-processing - Connectivity
The noise generator does not provide any guarantees that a generated level will not contain any areas that are unreachable for the player. In some cases, it might be fine. For example, if you have a level consisting of multiple islands but you give the player the ability to swim. In other cases, it might be problematic and we need to do some extra steps.
The connectivity post-processor provides 2 modes of operation:
- it detects unreachable areas and removes them (keeping only the largest reachable area)
- it detects unreachable areas and connects them using pathfinding (with a configurable size threshold for an area to be connected)
In the video below, you can see the following:
- the post-processor is disabled so there are many unreachable areas
- unreachable areas are connected via pathfinding
- unreachable areas are removed (this looks weird for this level because the only area that remains is quite small)
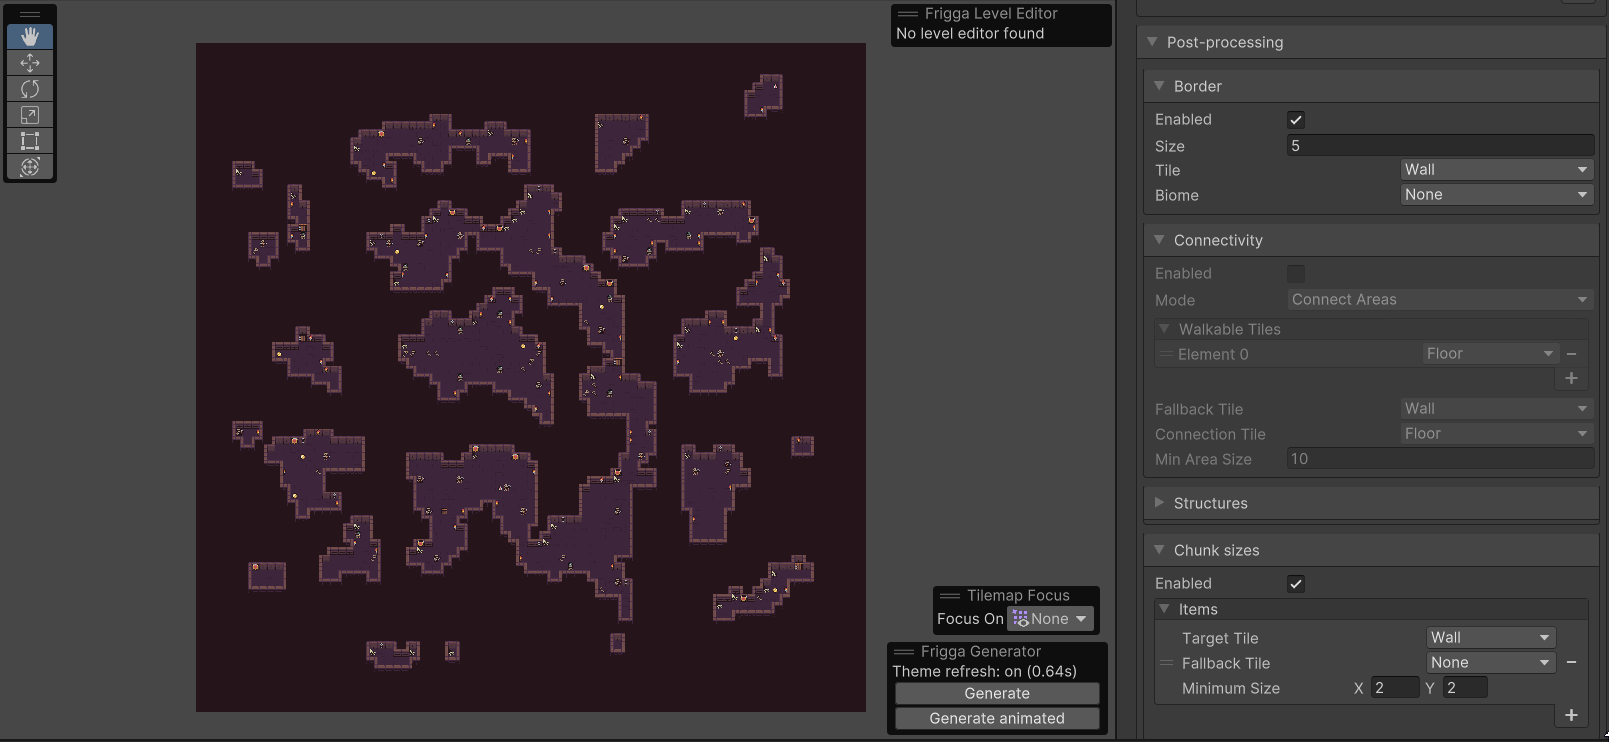
Mode
The mode of the post-processor decides whether the algorithm should try to connect unreachable areas or remove them.
Walkable tiles
This is a list of tiles that are considered to be walkable by the algorithm. The algorithm will scan the whole level and compute a list of areas that are not reachable using only the provided walkable tiles.
It can work the other way around as well. Imagine you have a level with some water tiles and you want to generate only a single lake. Even though water tiles might not be walkable in your game, you can still use the post-processor to keep only the largest lake and remove all other lakes.
Connection tile
The tile that will be used to connect unreachable areas if the mode is set to connecting them.
Fallback tile
The tile that will be used for removing disconnected areas. This tile is needed even if we want to connect the areas because some areas might not reach the specified threshold and need to be removed.
Min area size
The minimum size of an area to be connected.
Post-processing - Structures
Please see the standalone documentation for Structures.
Post-processing - Chunk sizes
Most tilesets have some limitations regarding how the tiles can be arranged. For example, in the video below, the tileset only supports walls if they are in chunks of at least 2x2 tiles. If there is a singular wall tile, there might not be a proper tile to use, leading to missing tiles or weird artifacts. The solution is to use the Chunk sizes post-processor. You define which tile should be fixed, what is the minimum size for that tile, and what is the replacement tile that should be used in case the target tile needs to be removed.
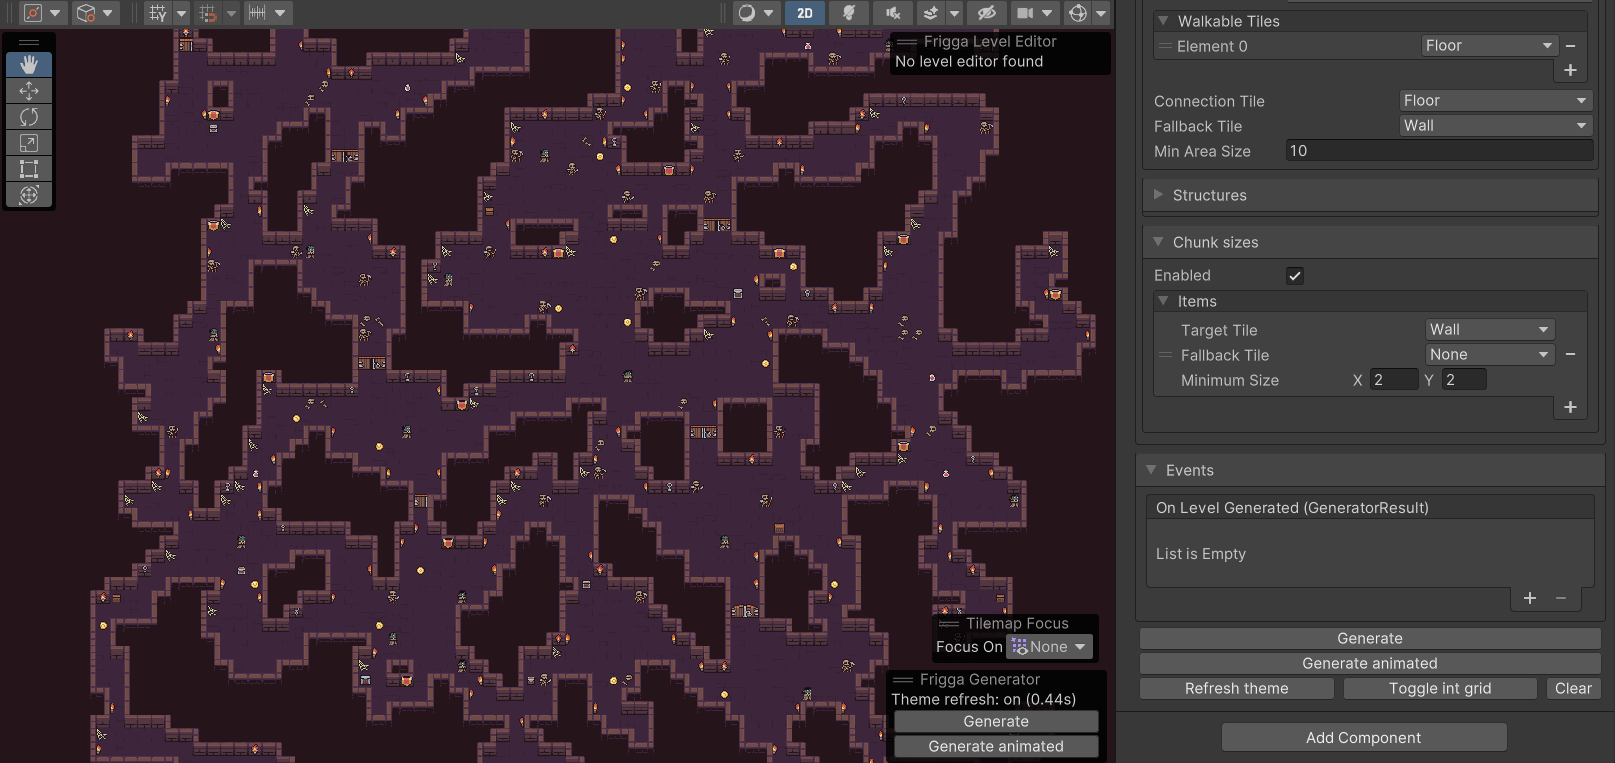
This config section lets us define more than one chunk size rule to be checked. However, only the last rule in the list is guaranteed to be enforced. The reason is that even if we fix one tile, it can be broken in the next step by a different tile that tries to fix itself. In some cases, this might still be beneficial as some chunk size rules are just nice-to-have and not absolutely required.
Chunk size post-processing together with Connectivity post-processing might lead to some unintuitive results. For example, if we connect unreachable areas, it is possible that the paths that we added do not meet the chunk size requirements and are removed, leading to a level that contains unreachable areas again.
Please contact me if this is a real problem in your game.
Target tile
The tile that needs to be checked regarding the chunk sizes.
Fallback tile
The fallback tile that will be used in case a target tile needs to be removed for not meeting the minimum size requirement.
In some cases, the fallback tile can be left empty and the algorithm will find the nearest non-target tile and use that.
Minimum size
The minimum chunk size that the target tile must meet to be preserved.
Events
Please see the Events configuration documentation on the Walker generator page as these are shared between generators.