Getting started
Generating your first level
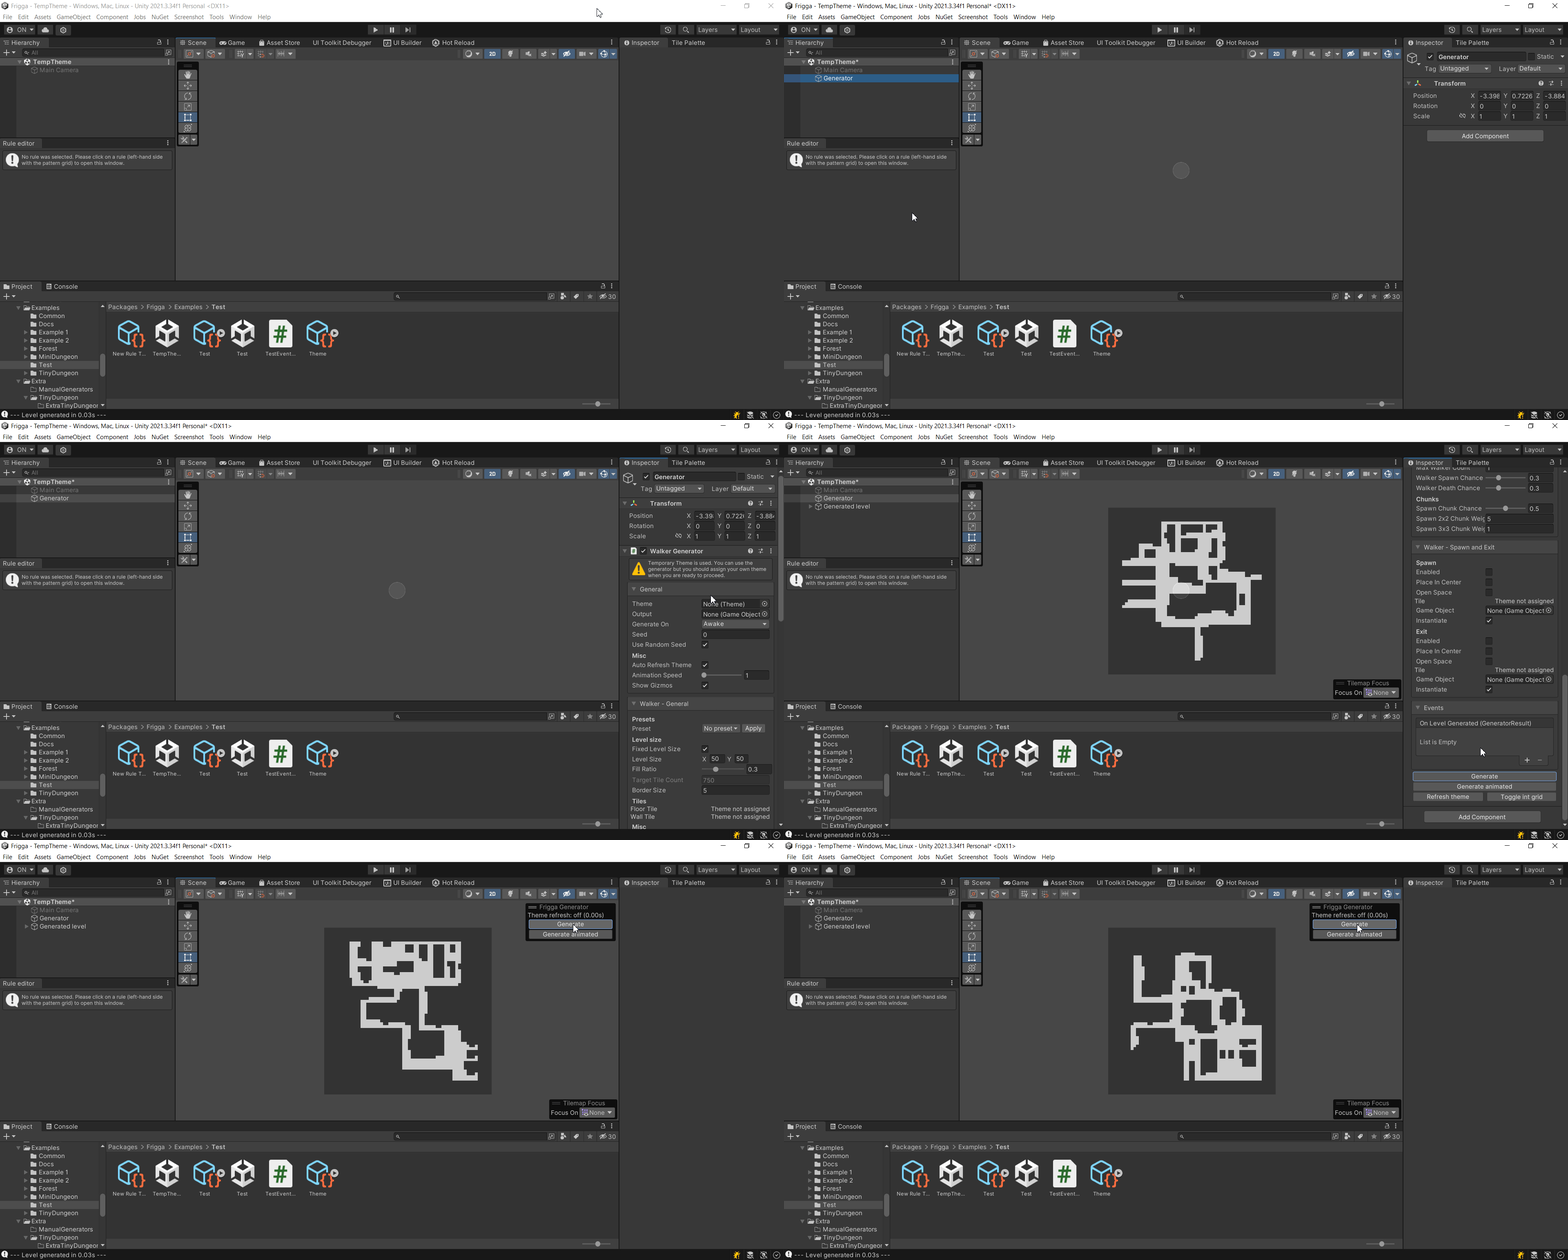
Create a new Game Object in the Scene and add the Walker Generator component. Then you can either scroll to the bottom of the component and hit the Generate button, or preferably you enable the Frigga Generator overlay and use that instead.

Using a theme
The Walker generator is only responsible for the layout/geometry of a level, i.e. which tile is a floor (walkable) and which tile is a wall (unwalkable). If we want to make the level look good, we need to apply a Theme which is a collection of rules that decide which graphics should be used for each tile in a level. There is a whole section in the documentation dedicated to creating Themes, but for now, we can just apply one of the example themes that come with the asset.
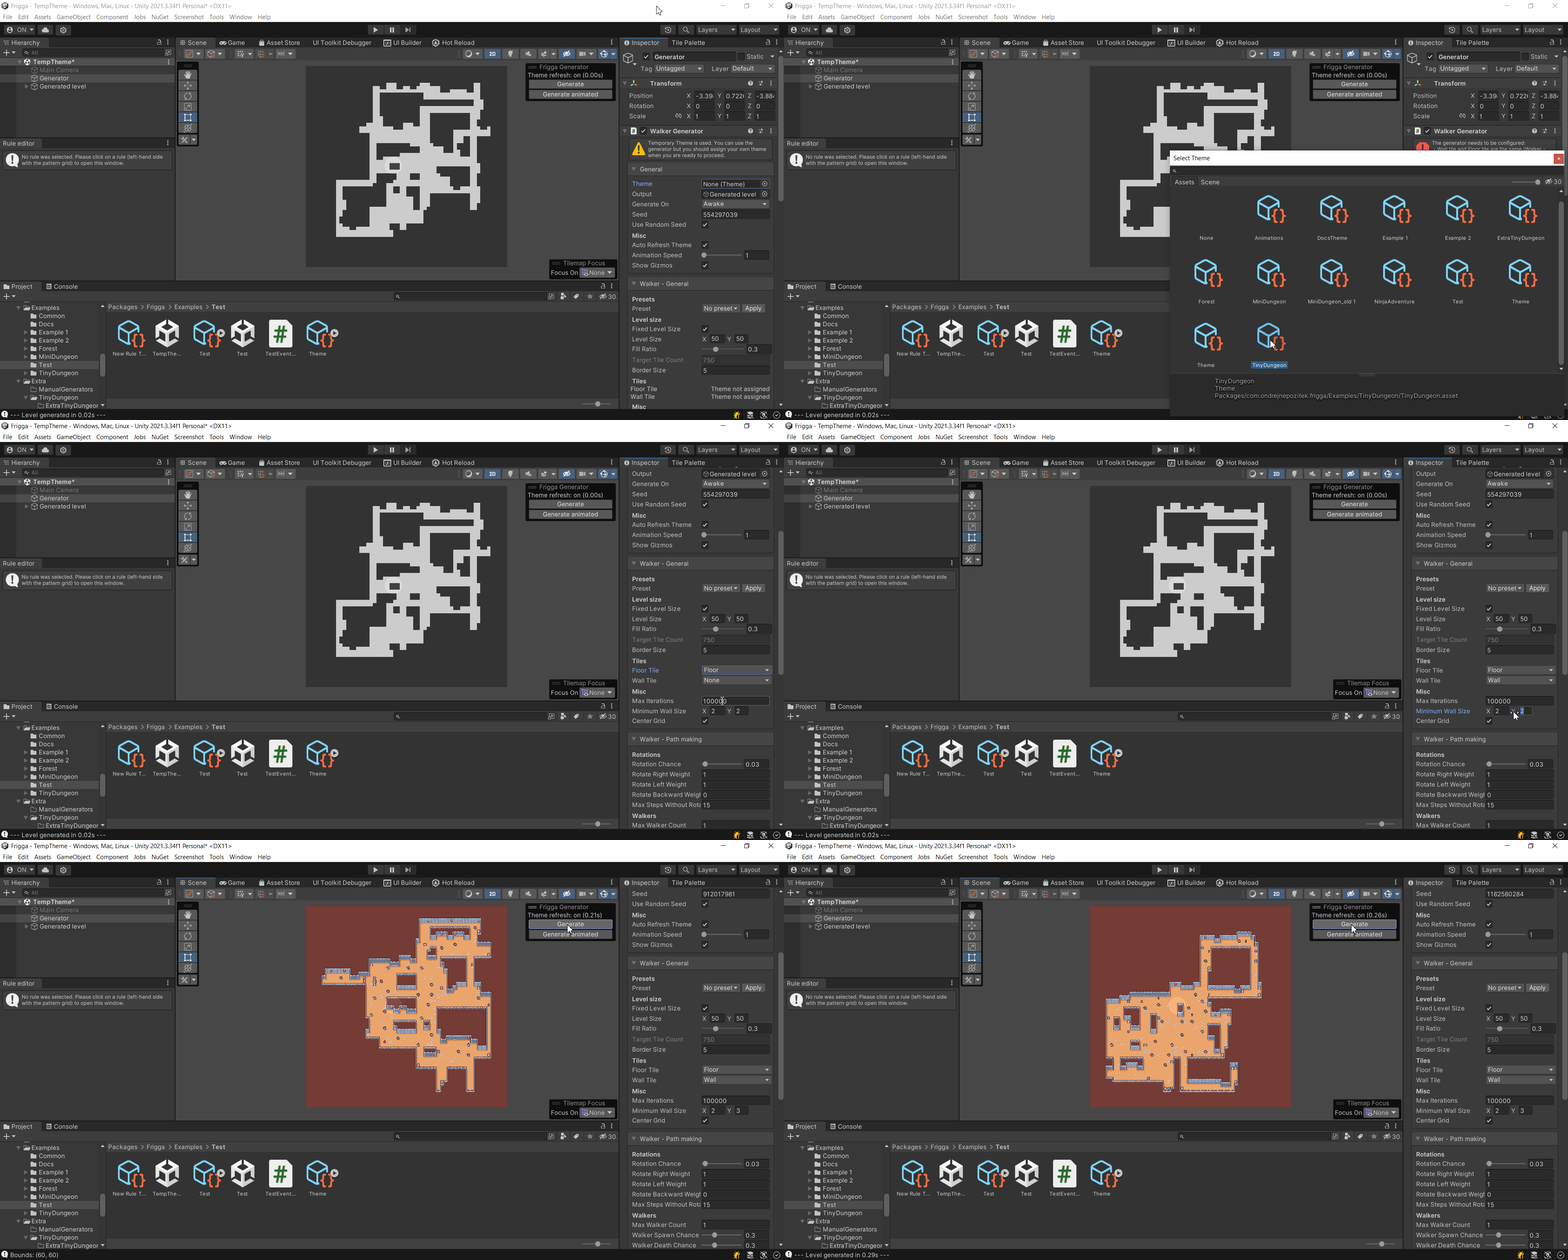
In the Walker Generator component, click the Theme field and show hidden packages. Next, pick one of the existing themes, e.g. the Tiny Dungeon theme. Next, you need to scroll down to the Tiles section and tell the generator which tile from the Theme should be used as a floor tile (walkable) and which tile should be used as a wall tile (unwalkable). Finally, each tileset requires a specific minimum width and height of walls. The Tiny Dungeon tileset needs the walls to be at least 2 tiles wide and at least 3 tiles tall, so we need to configure that in the generator. After that, we're ready to generate some levels.

Using a preset
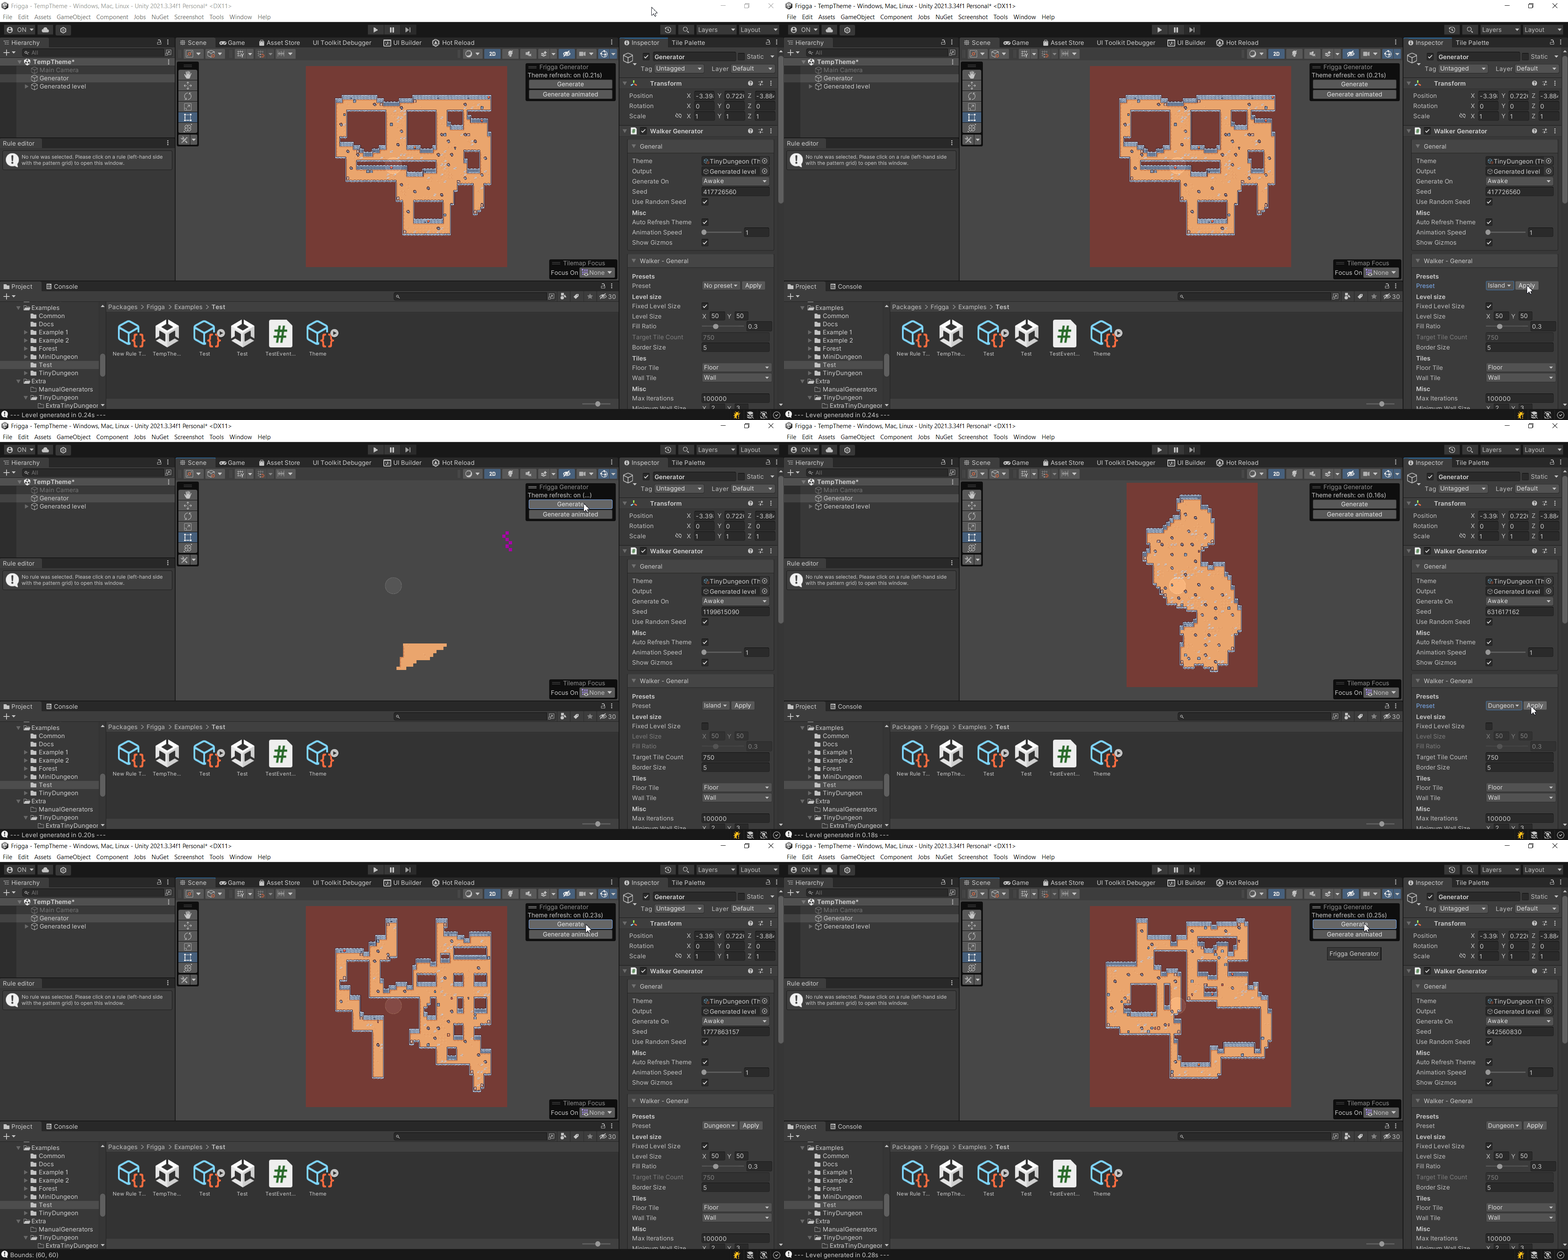
The generator has many configurable fields that you can tweak to produce different types of levels. The number of different options might feel intimidating at first, so we provide a few presets to get you started. At the time of writing, there are 2 different presets. The Dungeon preset corresponds to the default configuration of the generator and produces levels with branching corridors that often connect back to the main area. The Island preset produces a large open-space area.

Basic configuration
There are some core fields that you might often want to configure:
Level Size- controls the size of the levelFill Ratio- controls the ratio of floor tiles versus wall tiles in a levelFixed Level Size- controls whether the level is generated in a fixed-sized frame or not; when unchecked theTarget Tile Countcontrols the number of floor tiles that should be generated in a levelBorder Size- controls how many guaranteed wall tiles there should be on the border of each levelMinimum Wall Size- controls the minimum size of a chunk of wall tiles, needs to be configured based on the Theme that is used
All configurable fields are described on the Configuration page.
Understanding the algorithm
If you want to tweak the configuration of the generator, it might be useful to understand how the Walker algorithm works.
During each step of the algorithm, we keep track of a set of walkers. Walkers are entities that move across the grid level and wherever they step, they put a floor tile. Each walker has a direction and tries to move one tile forward during each step. A walker might also change its direction (rotate), either based on a random probability or by bumping into the frame of the level. Walkers can also create copies of themselves, and they can die. Finally, instead of spawning a single floor tile, the walker can also spawn a 2x2 or 3x3 chunk of floor tiles.
That is the whole algorithm and you can configure almost all of the mentioned functionalities. The best way to learn more is to just experiment with different properties and see where it goes.
What is the Int grid?
We have already talked about the fact that the Walker algorithm only produces a layout (or a geometry) of a level, without any decorations. After the layout is produced, the generator uses the Theme engine to apply all the actual tiles and/or game objects with nice graphics.
The data structure that the layout generator works with is called Integer grid, or Int grid for short. It is an intermediate representation of a level and the name comes from the fact that we could use integer values instead of tiles. For example, 0 could represent an empty tile, 1 could represent a Wall tile and 2 could represent a Floor tile. Because it is easier to recognize and remember colors rather than numbers, we assign a single color to each value and call these tiles the Int grid tiles.
Int grid is a great data structure for a layout generator because it is super simple. You can have hundreds of different tiles in your tileset but the layout generator only cares about whether a tile is a wall tile or a floor tile and that is all.
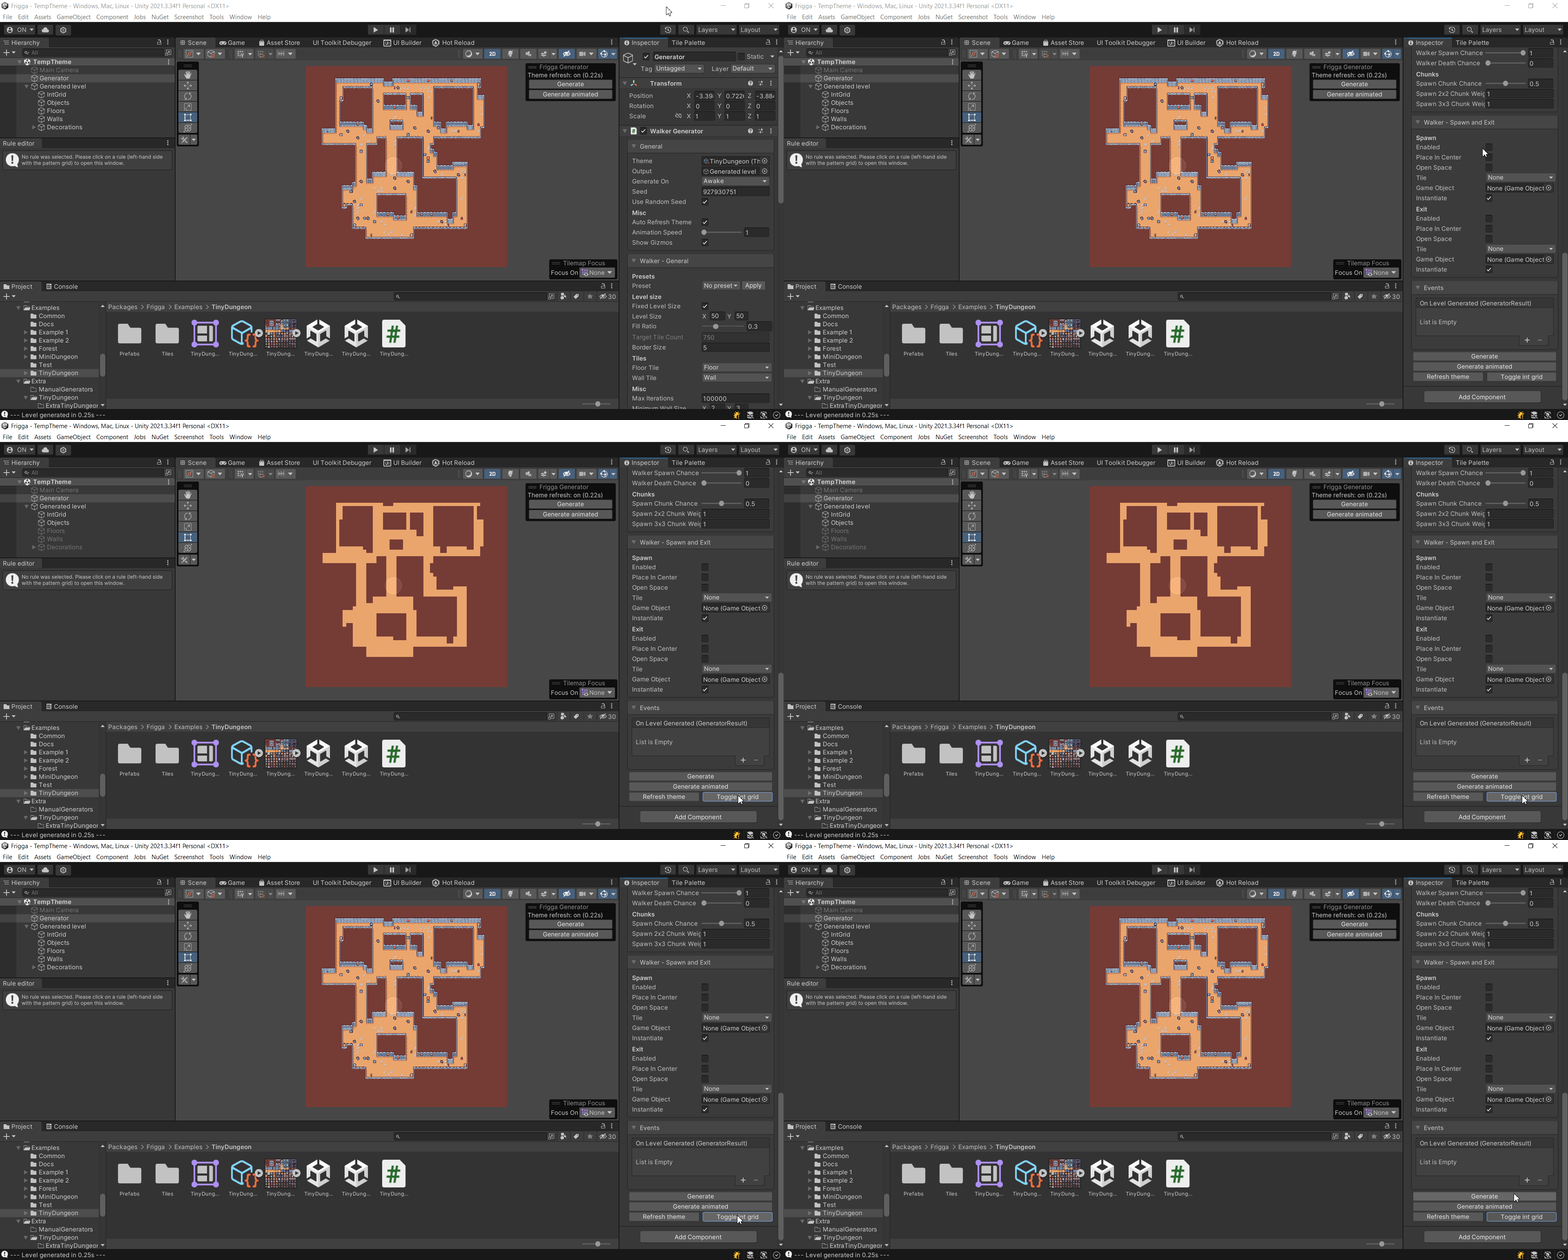
The reason I am mentioning this is because you need to understand this concept at least a little bit if you want to create your own Themes. In the video below, you can see how I can toggle between the actual graphics and the int grid.
