(PRO) Minimap
In this guide, we will learn how to implement a simple minimap functionality.
Example scene#
An example scene can be found at ProceduralLevelGenerator/Examples/MinimapExample.
Setup#
Create a Minimap camera#
The first step is to create an additional camera that will render the minimap view. For starters, configure the camera so that it renders the same things as the main camera. Later, you will be able to change the background colour or zoom it out. Do not forget to make the camera follow your player so that it is always centered on the player.
Create Render Texture#
The next step is to create a Render Texture that we will use to show the minimap inside the UI. Go to Create -> Render Texture to create the render texture and set its size to e.g. 512x512.
Assign render texture to the camera#
The next step is to assign the render texture to the Target Texture field of our minimap camera. By doing so, the camera will now render its view to the render texture instead of on the screen. If you run the game now, you should see that the render texture changes as you move in the level.
Prepare UI elements#
The next step is to show the render texture in our UI. To make this tutorial simple, we will create a simple square minimap with a solid white border. However, it should be very easy to customize the look of the minimap - make it circular or add a custom border.
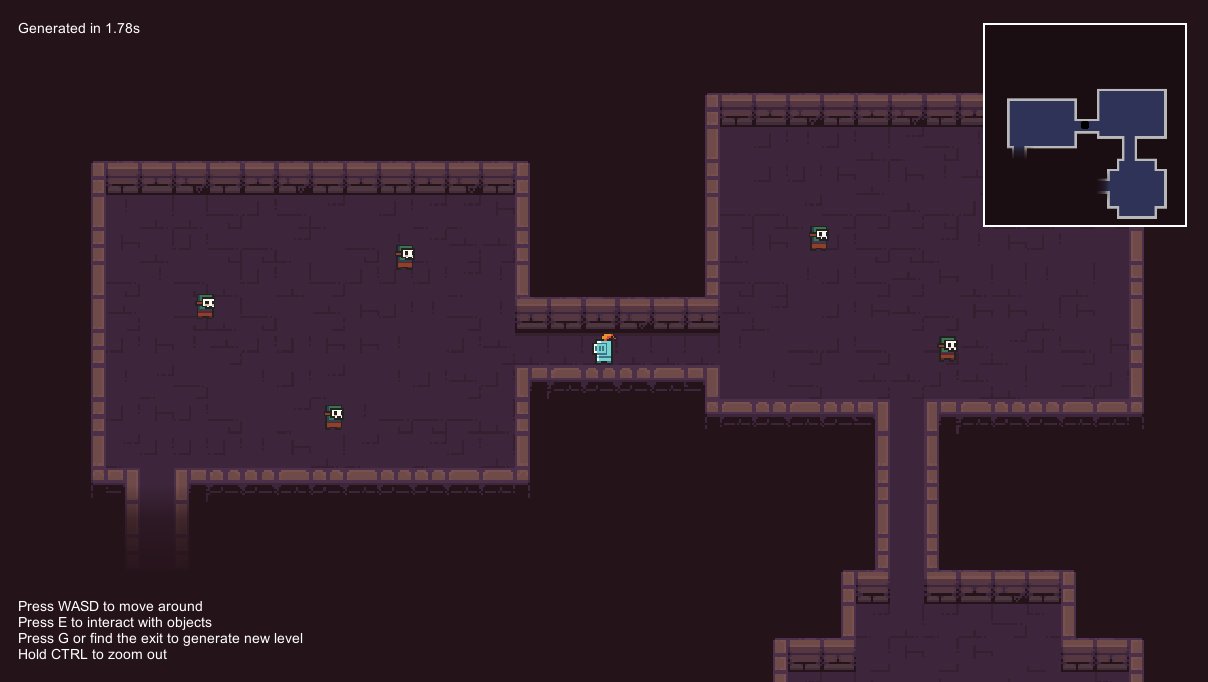
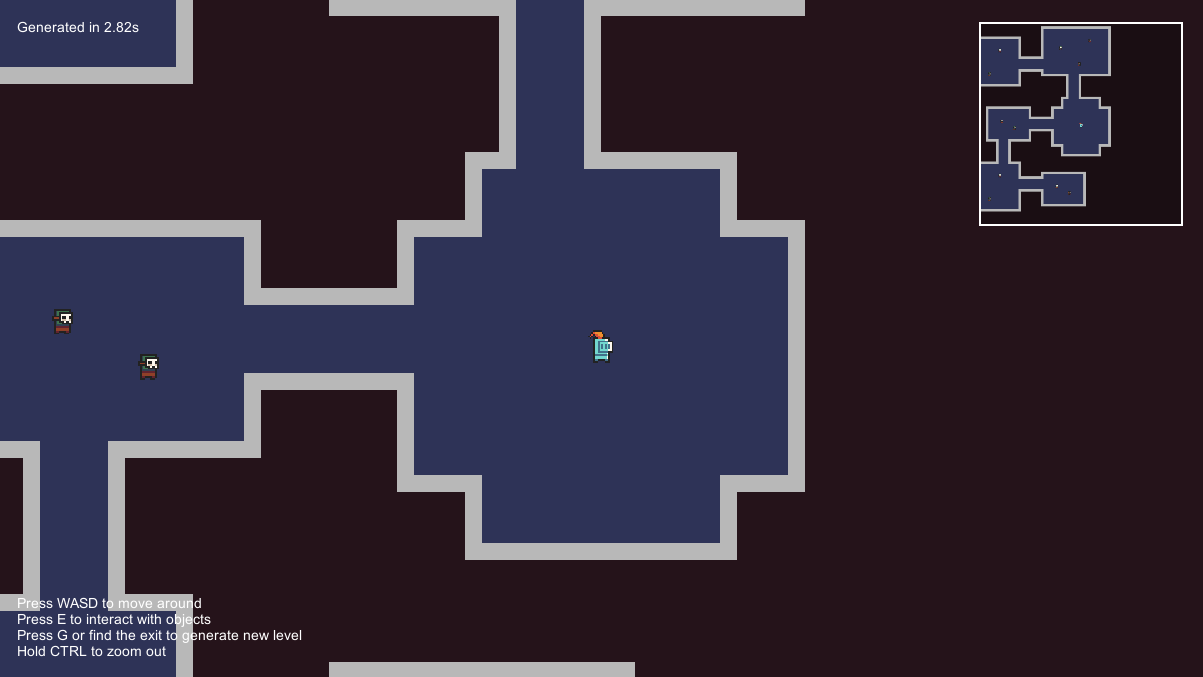
First, create a canvas if you do not have one already. Next, add an Image (UI -> Image) element inside the canvas. Set its colour to white and the size to e.g. 204x204. Move the image to the top-right corner so that it looks like the left image below. Next, add a Raw Image (UI -> Raw Image) element inside the white image. Set its size to 200x200 and move it to the centre of the white background. And finally, assign our render texture to the Texture field of the raw image. The screen should now look like the right image below.
The minimap is now fully functional. The following steps are optional but I recommend to check them out.
(Optional) Simplified view#
We may sometimes want to use simplified graphics for the minimap instead of the real level graphics. The goal is the following: We will create an additional tilemap layer in which we will create a simplified version of the level with single-coloured tiles. We will also create a special Unity layer, assign this layer to the new tilemap layer and then setup cameras in a way that only the minimap camera displays the new layer.
The first step is to create a new Unity Layer, called for example "Minimap".
Next, we have to create an instance of the MinimapPostProcess scriptable object. In order to do that, head to Create -> Edgar -> Features -> Minimap post-process which should create a new file for you. Now drag and drop this file to the Custom post-process tasks section of the dungeon generator in order to enable it. After you do that, you should see several editor fields in the task:
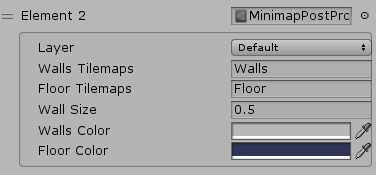
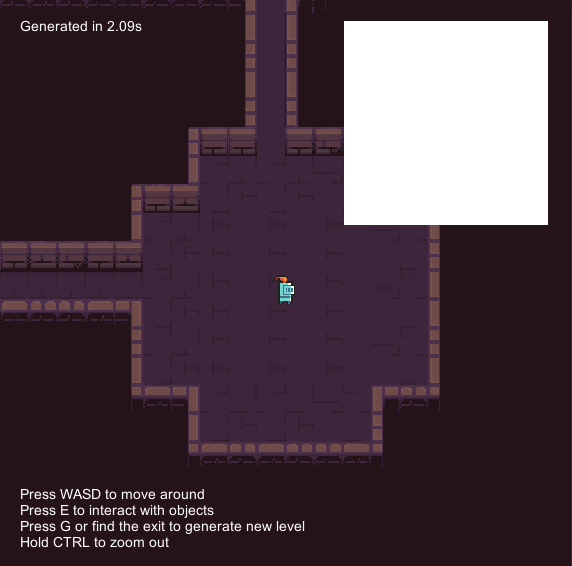
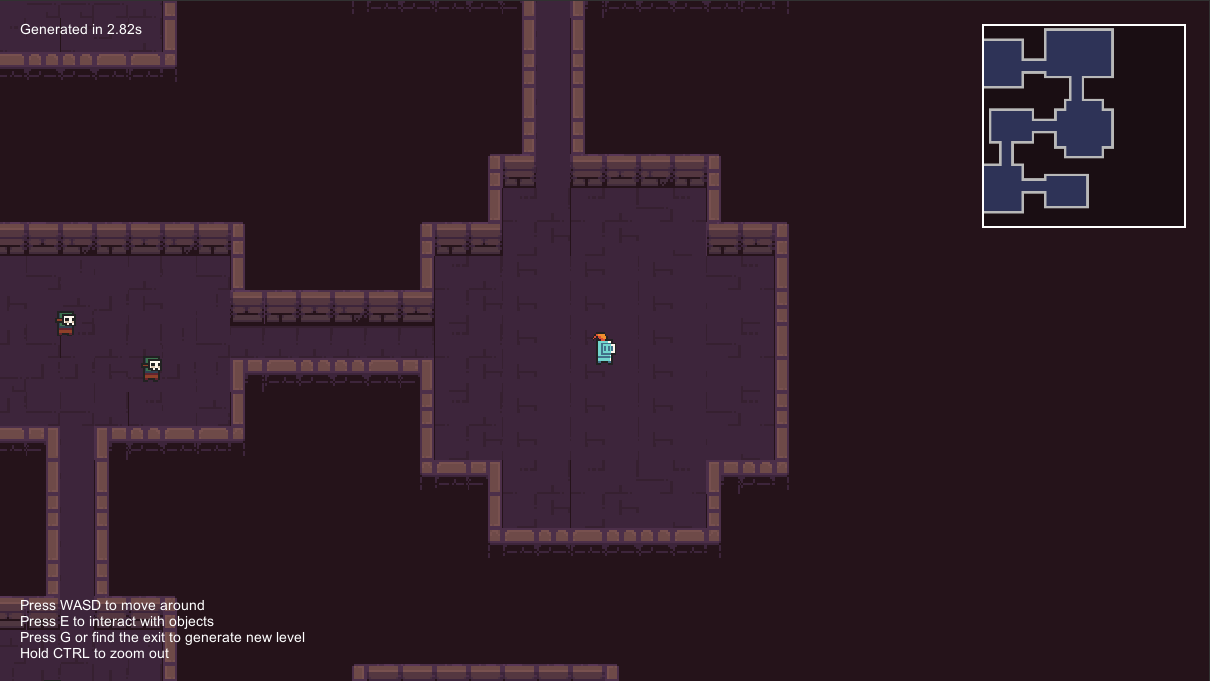
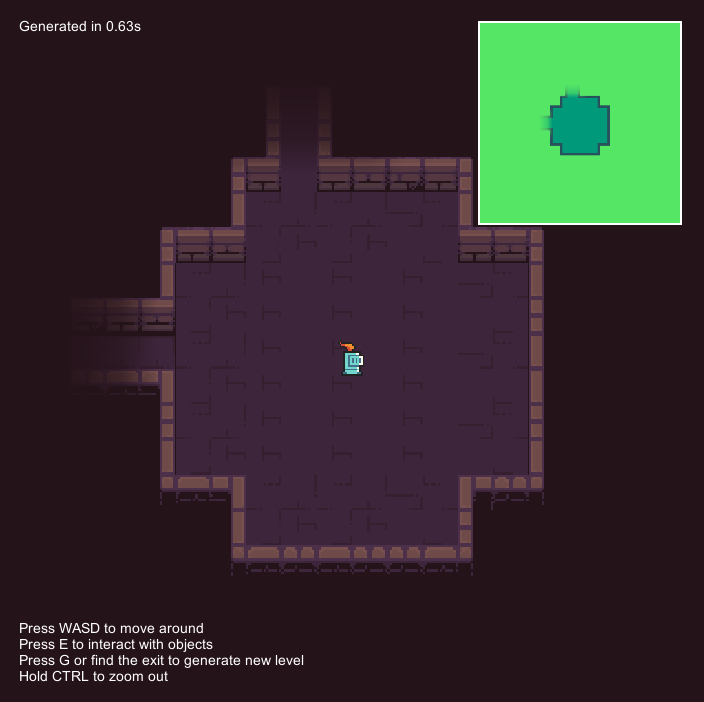
First, change the Layer field to match the layer that you created for the minimap. Next, check that the Walls Tilemaps and Floor Tilemaps match the names of your wall tilemap layer and floor tilemap layer. After you generate a level, you should see something similar to the image below. You can see that there is an additional tilemap layer on top of the level, and it contains a simplified view of the level.
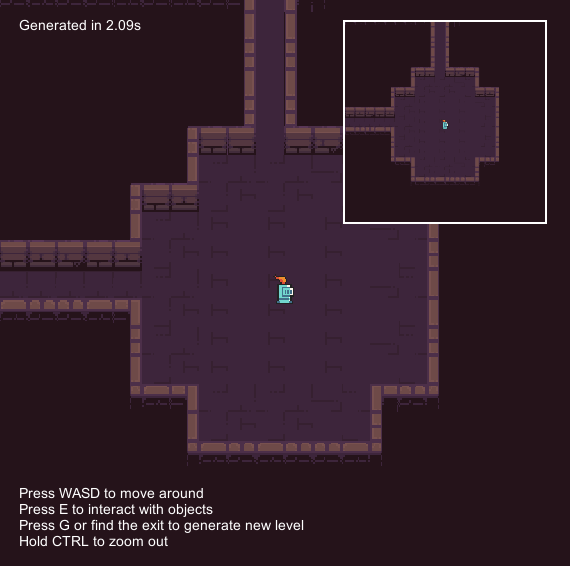
The last step is to change which camera renders which layers. In your main camera, exclude the minimap layer from the Culling Mask field. In your minimap camera, render only the minimap layer. After doing that, you should see something similar to the image below.
(Optional) Fog of War#
The minimap works really well with the Fog of War feature. If you have the Fog of War already working, it is very easy to use it together with the minimap. Because the Fog Of War component is a singleton, we cannot directly add it to the minimap camera. However, there is the Fog Of War Additional Camera components that was created for this exact purpose. If you add this component to the minimap camera, the fog effect will be applied to both cameras.
Customization#
Shape or border#
See 3rd party tutorials here or here.
Background colour#
Change the background colour of the minimap camera.
Zoom level#
If you want to zoom out the minimap view, just change the Size field of the minimap camera to a larger number.
Simplified view#
The simplified minimap view is achieved with the MinimapPostProcessing task (see the Setup section). The post-processing task has several options that can be changed to customize the look of the minimap.
Note: If you change something in the task settings, you have to generate the level again to see the changes applied.
Walls and Floor colours#
These two fields control which colours will be used for the walls and floor tiles in the simplified view.

Walls and Floor tilemaps#
These two fields control which tilemaps layers are used to create simplified views. By default, Walls Tilemaps is set to "Walls" as that is the default name of the tilemap layer that contains wall tiles. Similarly, Floor Tilemaps is set to "Floor" by default. In both fields, you can specify more tilemaps by separating the with a comma, e.g. "Walls,Colliders".
First, the post-processing task creates a new tilemap layer in the level. Then, it find all the tiles in the Walls Tilemaps and copies them to the new tilemap layer. But instead of using the original graphics, it uses a new single-coloured tile. And finally, the same process is performed with Floor Tilemaps.
Wall size#
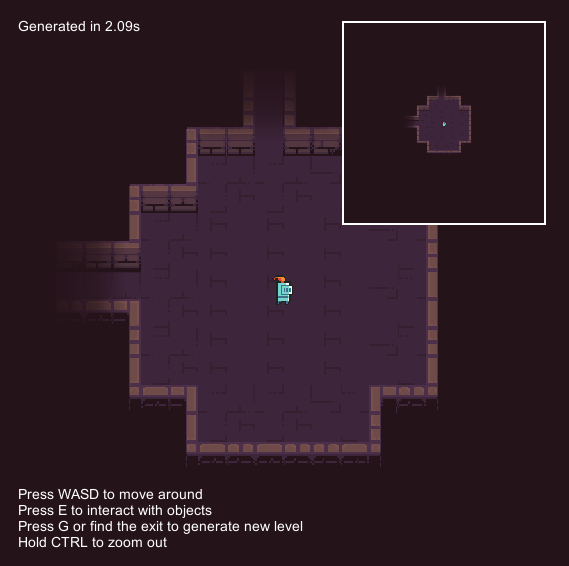
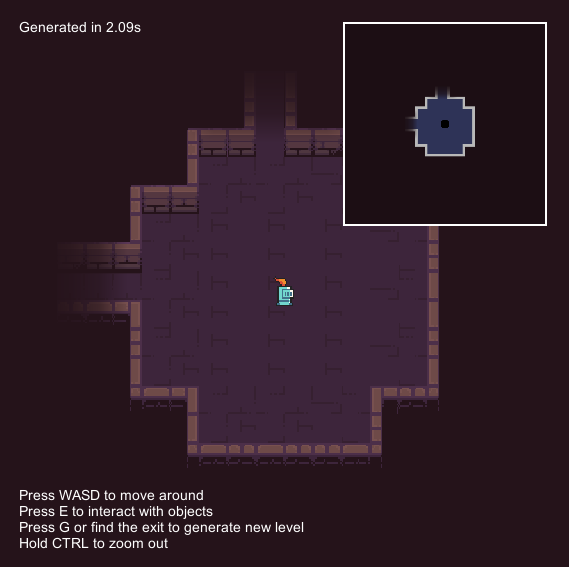
The Wall Size property makes it possible to make the wall tiles look smaller than the floor tiles. The motivation for doing so can be seen in the images below. In the left image, we can see how the minimap looks with equal sizes of wall and floor tiles (i.e. Wall Size set to 1). The problem is that the original wall tiles do not occupy the whole tile which results in the outline of the simplified view looking more "chunkier". To compensate for that, we can set the Wall Size to 0.5 which means that the wall tiles will be half the size of the floor tiles. This can be seen in the right image. Experiment with different wall sizes to find out which looks good for you!

Note: Behind the scenes, this effect is achieved by making the floor tiles larger, thus overlapping the wall tiles and making them look smaller.
Custom tiles instead of single-colour tiles (and other customizations)#
By default, the simplified view uses single-coloured tiles for wall and floor tiles. If you want to use real tiles for the simplified view, you can change the post-processing task yourself. Head to Edgar/Runtime/Pro, copy the MinimapPostProcess.cs file to your project, change the class name (and the CreateAssetMenu attribute path) and change to code to your liking. The code is relatively simple and commented, so it should not be a problem to slightly change it.
Add player (or other) icon(s)#
You can easily add a player icon to the minimap. Add a child game object to your player, add your player icon as a sprite to the game object and change its layer to the minimap layer. By doing so, the sprite will be only visible on the minimap. You can do the same thing with enemies, treasures, etc.