Room templates
Room templates are one of the main concepts of the generator. They describe how individual rooms in the dungeon look and how they can be connected to one another.
Note: If this is your first time working with the 3D version of Edgar, I recommend starting with the Basics tutorial.
Creating room templates
To create a new room template:
- navigate to the folder where the room template prefab should be saved
- right click in the Project window and choose Create → Edgar (Grid3D) → Dungeon room template
- (optional) rename the prefab file to anything you want
Generator settings
If you open a newly created room template, it will greet you with a message that you must assign the GeneratorSettings field. GeneratorSettings is a scriptable object that lets you configure some of the properties of the dungeon generator. Right now, its main function is to configure the grid size of your room templates and generated levels.
If you do not have an instance of GeneratorSettings yet, go to Create → Edgar (Grid3D) → Generator settings and create one. If you open the file, you should see a CellSize field in which you can configure the grid size. When you are happy with the configuration, assign the file to the GeneratorSettings field of your room template.
The same instance of GeneratorSettings is meant to be shared across all your room templates.
Note: If you do not plan to generate levels with different grid sizes, you can open your instance of
GeneratorSettingsand click the Mark as default generator settings button. After that, this instance will be assigned automatically if you create a new room template.
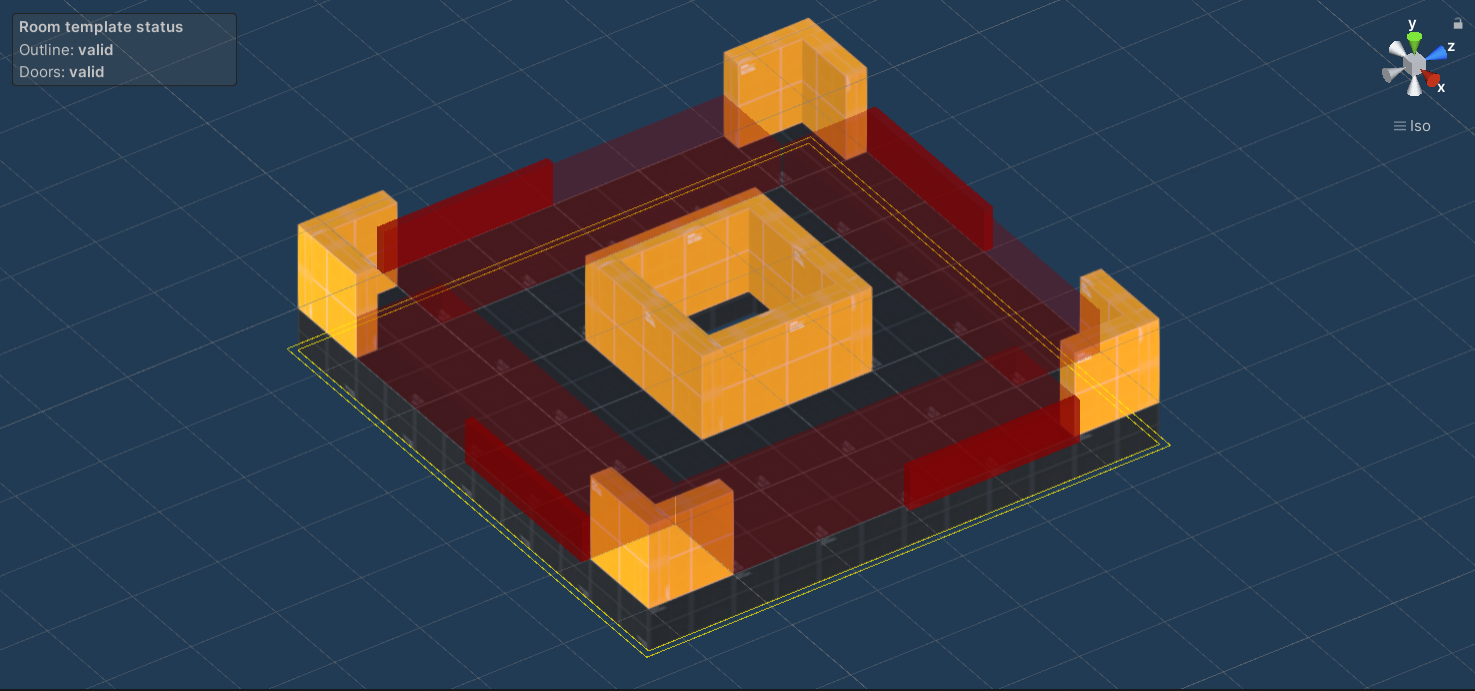
Room template structure
Below you can see the room template structure after it is created:
Components
RoomTemplateSettingscomponent attached to the root game object- this component is used to configure the room template and also show you the status of the room template
Game objects
- Blocks - container for all the blocks (floors, walls, etc.) of the room template
- Doors - container for all the doors of the room template
Designing room templates
You can use any Unity tool to create/design your room templates. The only things that you need to care about are the outline of the room template and also the doors (which are described in the next section).
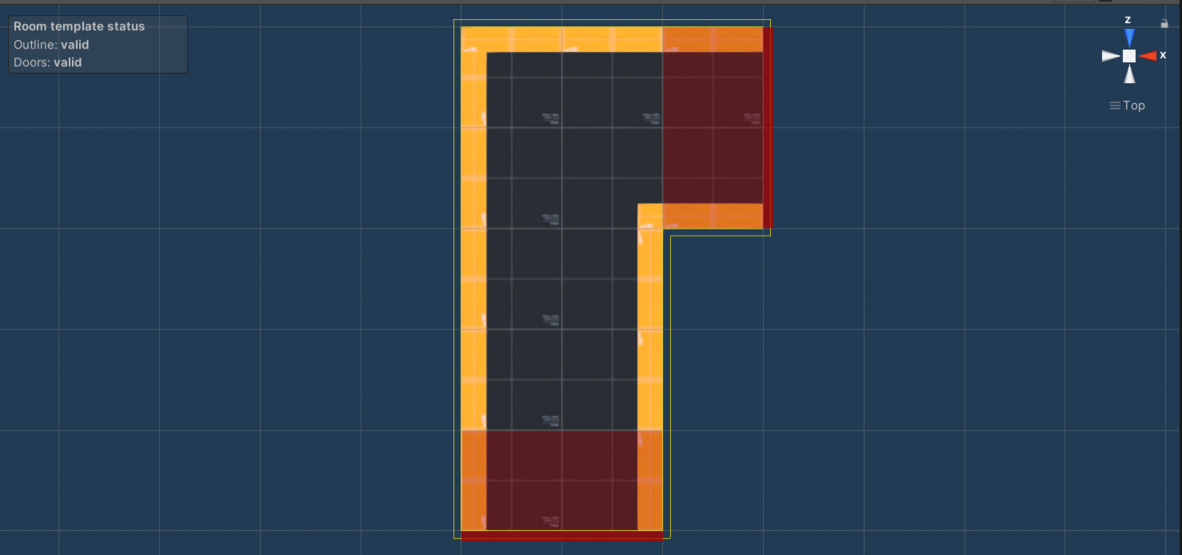
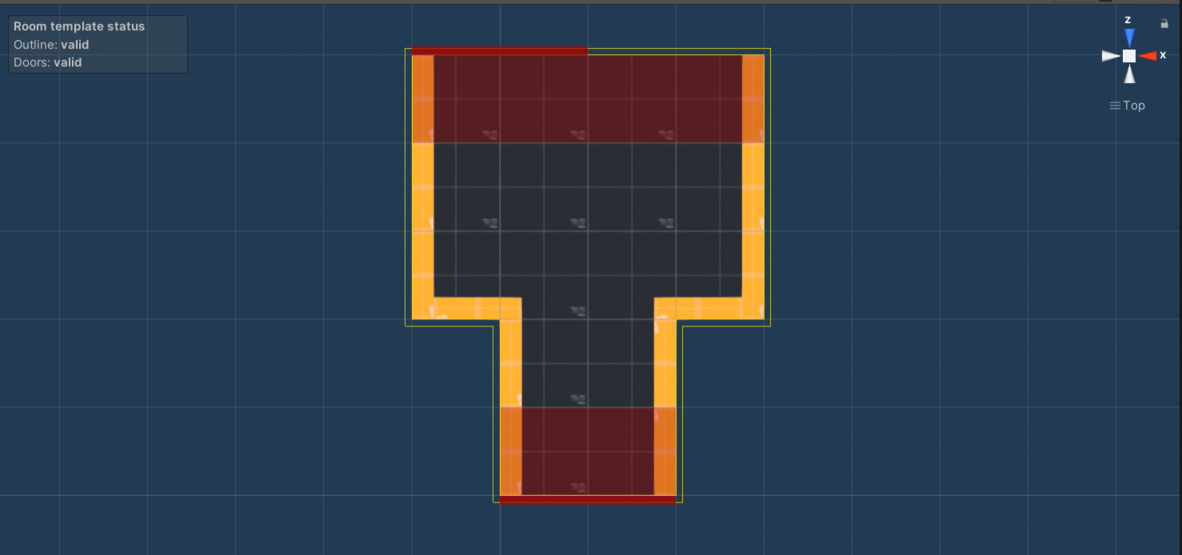
Outline
The core generator algorithm works with a grid of blocks/tiles, so you have to make sure that the outline of the room template is aligned to the underlying grid. The size of the grid is dictated by the GeneratorSettings object which was described in the previous sections. The outline of a room template is denoted with a yellow double-line when inside the prefab.
There are currently two ways of computing the outline of a room template (controlled by the OutlineMode field in the RoomTemplateSettings component).
OutlineMode - FromColliders
By default, the FromColliders outline mode is selected. With this mode, the generator looks for all the colliders inside the Blocks game object. For each such collider, the generator computes all the grid cells that are at least partially covered by the collider. From these grid cell, the outline of the room template is computed.
Note: Sometimes the colliders might also partially cover neighbouring blocks which are not intended to be included in the outline computation. For this purpose, the
GeneratorSettingsobject contains theColliderSizeTolerancefield which controls how tolerant should the algorithm be when computing the outline from each collider.
OutlineMode - Custom
The Custom mode is not yet implemented.
Doors
Right now, the best place to learn about doors is the Basics tutorial which goes through the recommended setup.
Door sockets
By default, when the generator computes how can two room templates be connected, it looks for doors with the same length. If you want to have more control over this process, you can use Door sockets.
Door directions
By default, all doors are undirected, meaning that they can be used both as an entrance or as an exit. It is also possible to configure doors as entrance-only or exit-only. When combined with directed level graphs, it gives you more control over generated levels. See the Directed level graphs guide for more information and examples.
Repeat mode
The RoomTemplateSettings component has a field called Repeat Mode that is initially set to Allow Repeat. Using this field, you can tell the algorithm whether the room template can be used more than once in generated levels. There are the following possibilities:
- Allow repeat - The room template may repeat in generated levels.
- No immediate - Neighbors of the room template must be different.
- No repeat - The room template can be used at most once.
Note: Instead of setting the Repeat mode on a per room template basis, you can use global override which is configured directly in the dungeon generator.
Note: If you provide too few room templates, they may repeat in generated levels even if you choose the No immediate or No repeat options. To make sure that the repeat mode is satisfied, please provide enough room templates to choose from.
Rotation
The RoomTemplateSettings component has a checkbox called Allow Rotation which is checked by default. This field controls whether a room template can be rotated in generated levels. Because the whole level is placed on a grid, only rotations which are multiples of 90 degrees are considered.
Note: Make sure that corridor room templates have this checkbox enabled otherwise you might get timeout errors.
Corridors
The algorithm distinguishes two types of room templates - basic room templates and room templates for corridor rooms. In theory, you can use any room template with at least two doors to act as a corridor room template. However, to make the algorithm fast, you should follow these recommendations:
- There should be exactly two door positions.
- The two doors should be on the opposite sides of the room template.
- The corridor should not be too long or too wide.
Note: Screenshots are from top-down view.